GOM Scan 1 is here to open up new possibilities. Industrial standards such as GOM fringe projection
technology and Blue Light Technology
deliver the foundation for detailed and accurate 3D meshes.
Meanwhile, the integrated software GOM
Inspect Pro helps you apply the mesh to any project you want: 3D printing, reverse
engineering or
part inspection. So, go ahead and start something big.
GOM Scan 1 features a compact shape and robust design filled with advanced technologies. From GOM’s Blue Light Technology to the stereo camera principle, this sensor is built to deliver 3D data with high precision.
The lightweight solution allows you to capture 3D data intuitively. Easy to operate, GOM Scan 1 is the specialist for simple and fast measurements of small to medium-sized parts – even in confined spaces.
GOM Scan 1 with pre-installed GOM Inspect Pro takes meshes to the next level. You can rely on high quality data, generate precise meshes and get your 3D data easily and fast.
Different applications have different requirements. GOM Scan 1 is available in three versions with the measuring volumes: MV 100, MV 200 and MV 400. With all three sensors you can rely on high-precision measurements for small to medium-sized objects.
GOM Scan 1 is an optical 3D fringe projection scanner. It captures the complete surface of components with blue fringe projection and delivers detailed resolution in no time.
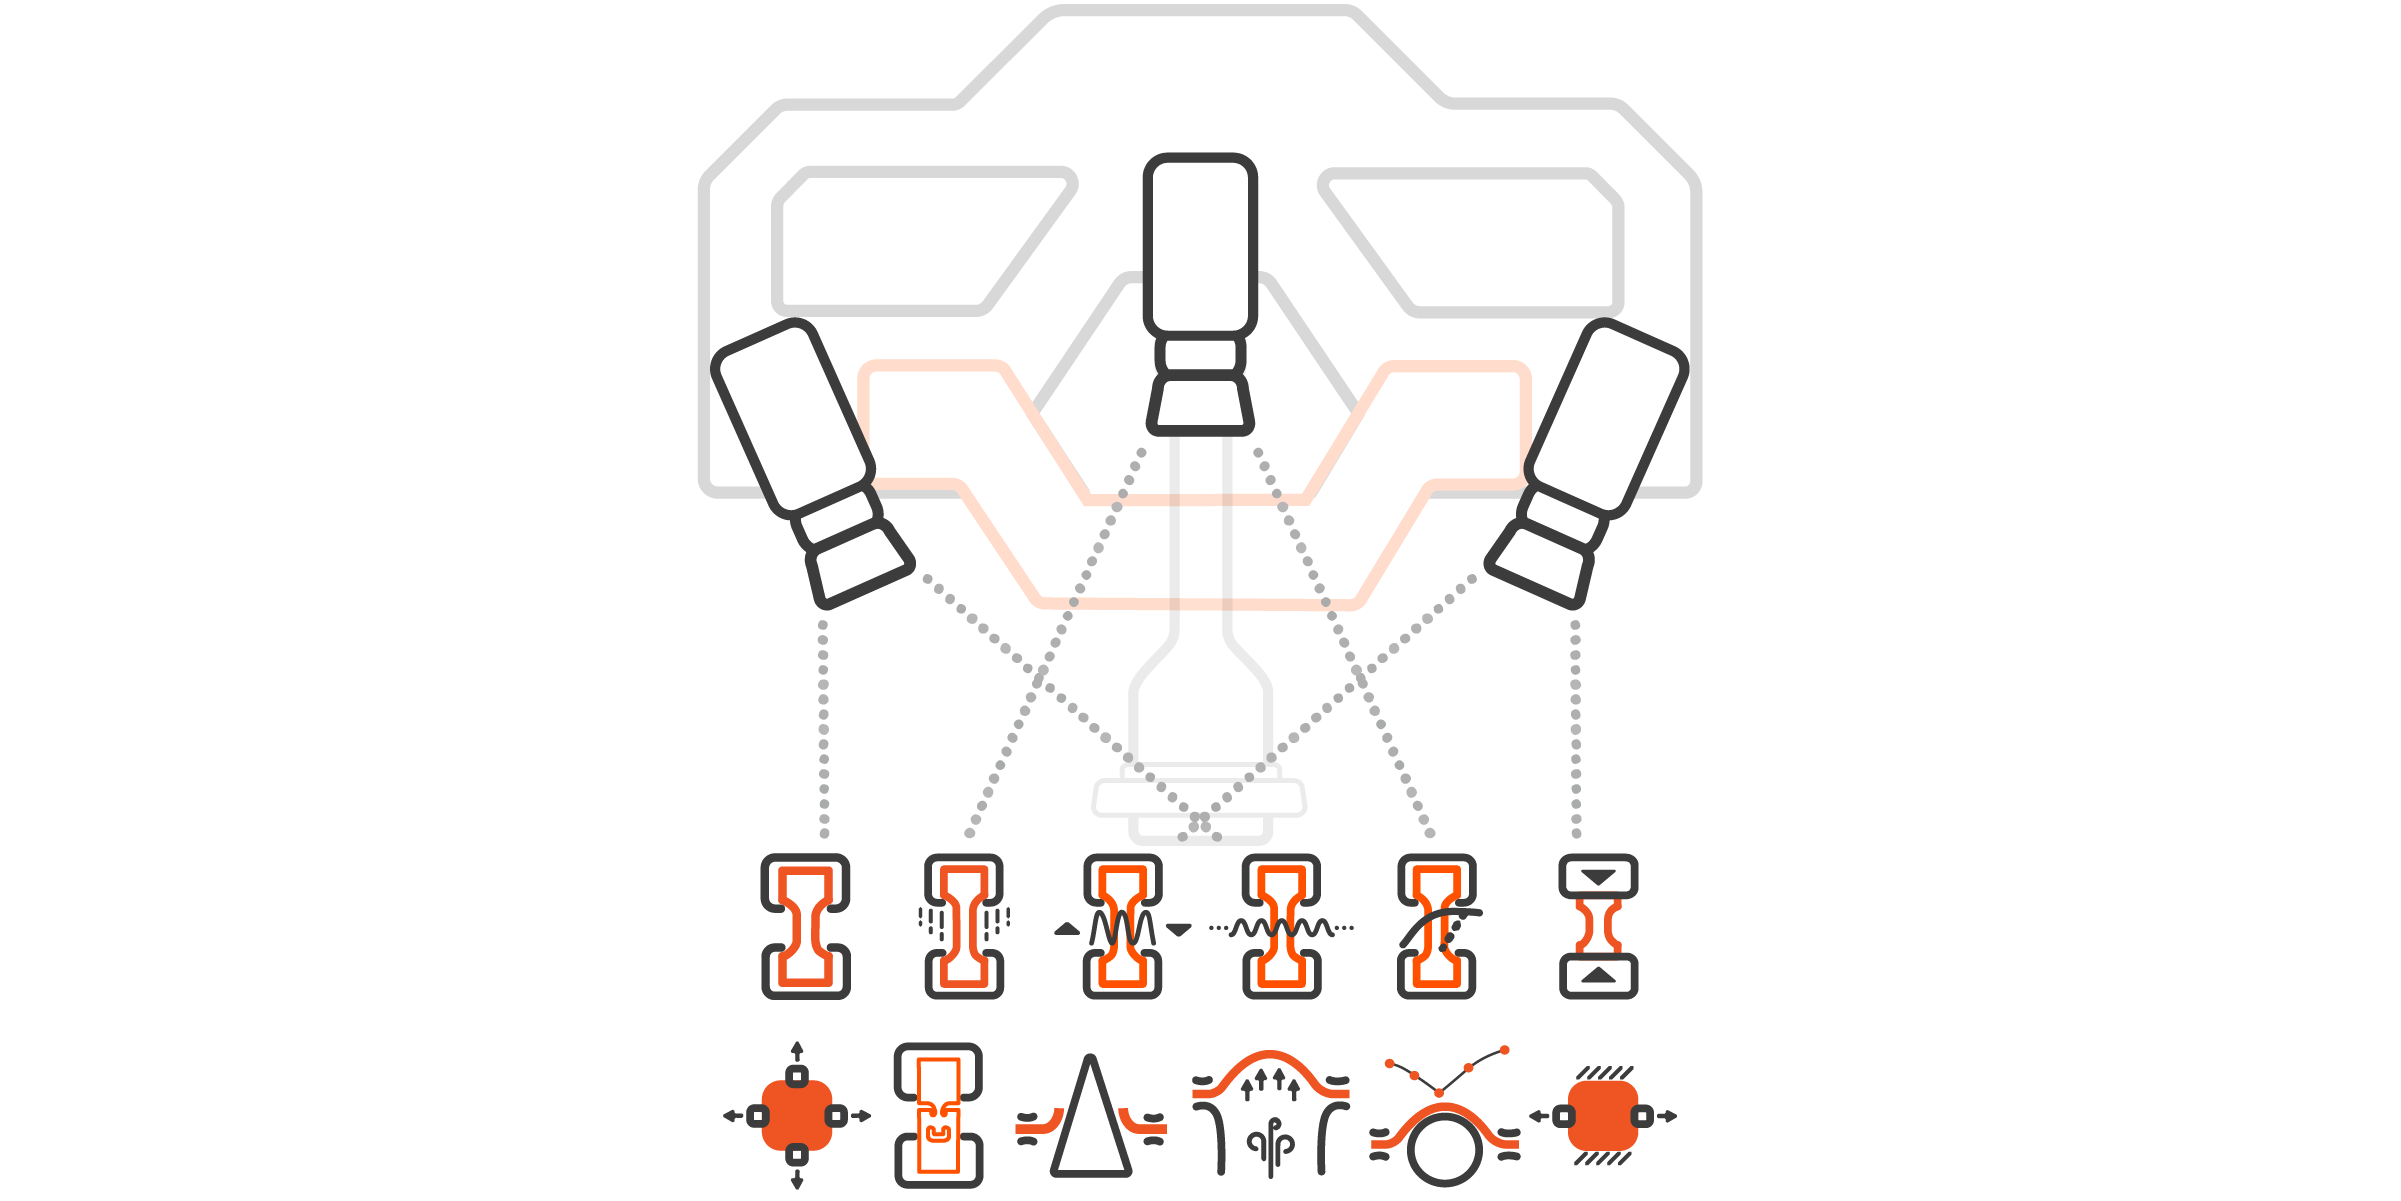
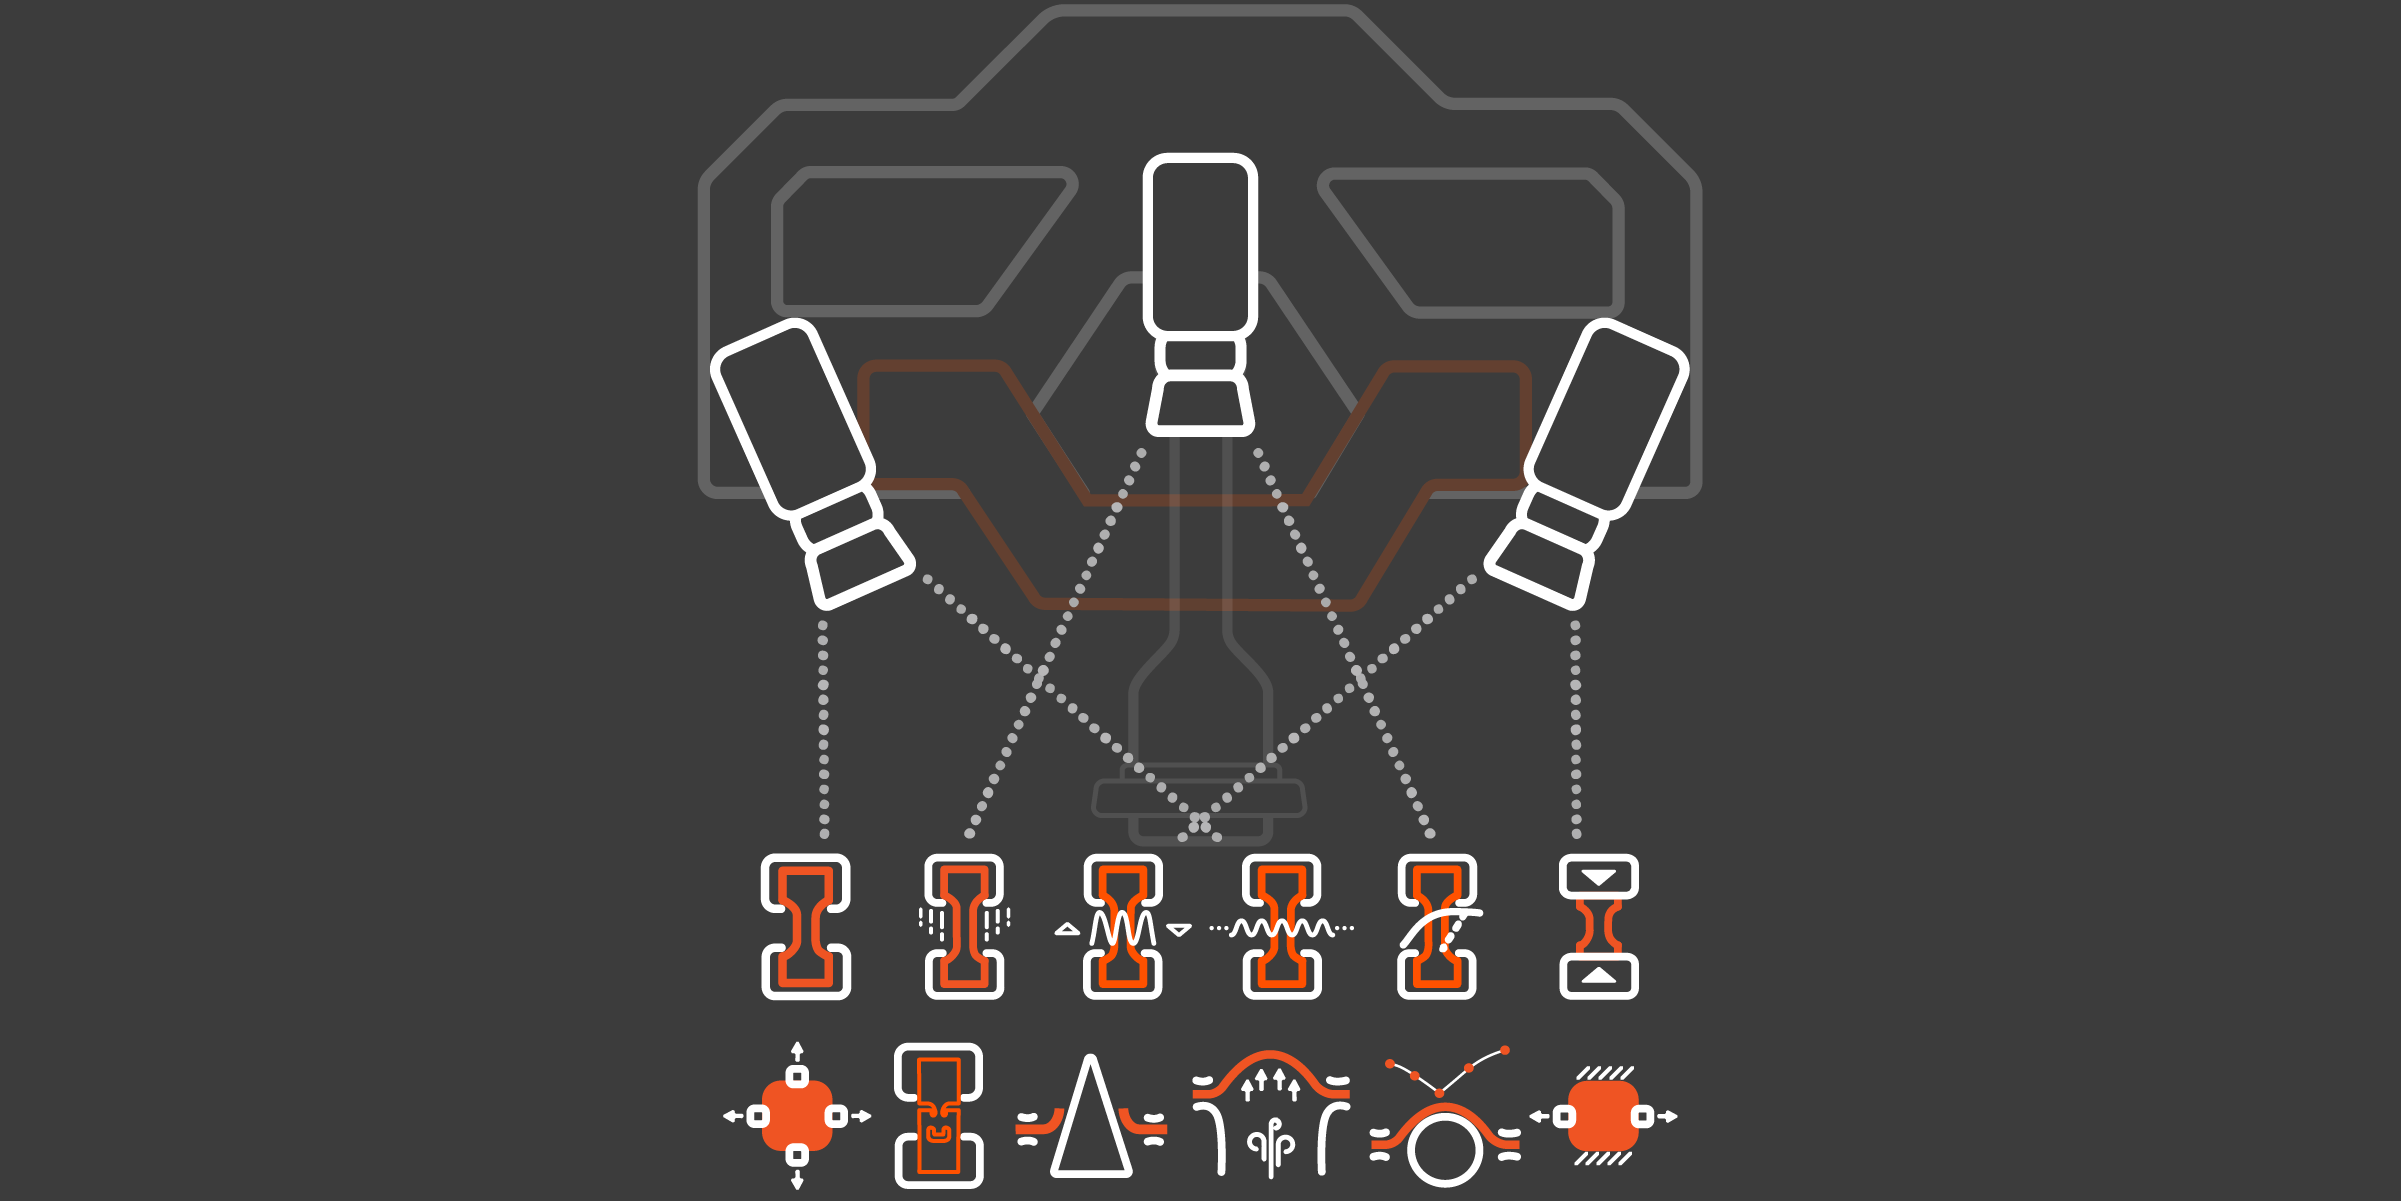
Due to the stereo camera principle, the sensor recognizes changing ambient conditions during
operation and can compensate for these changes.
To ensure the quality of the measuring data, the software of the sensor continuously monitors
the sensor status.
The projection unit of the new GOM Scan 1 is based on Blue Light Technology. Since the sensor works with narrowband blue light, interfering ambient light can be filtered during image acquisition. Due to its powerful light source, short measuring times can be achieved.
GOM Inspect Pro lets you smooth, thin and refine polygon meshes, fill holes or extract curvature lines, achieving very accurate meshes that can be saved in many common formats. The best part: our smart polygonization. It creates a mesh with highest detail while keeping the mesh size easy-to-handle.
The new GOM Scan 1 with GOM Inspect Pro supports tasks such as 3D printing, 3D models of a part and reverse engineering. It captures high quality data in a short amount of time while the powerful mesh editing functions make it easy to replace parts, produce precise 3D models or develop new products. Whatever your idea, GOM Scan 1 meets professional and industrial standards to make it happen.
GOM Scan 1 with GOM Inspect Pro is
a system to support your entire workflow. It helps you to get accurate and comprehensive
measurement results and makes part inspection effortless.
Import and align CAD and mesh files, create surface comparisons and inspection sections and
generate reports – easily and efficiently.
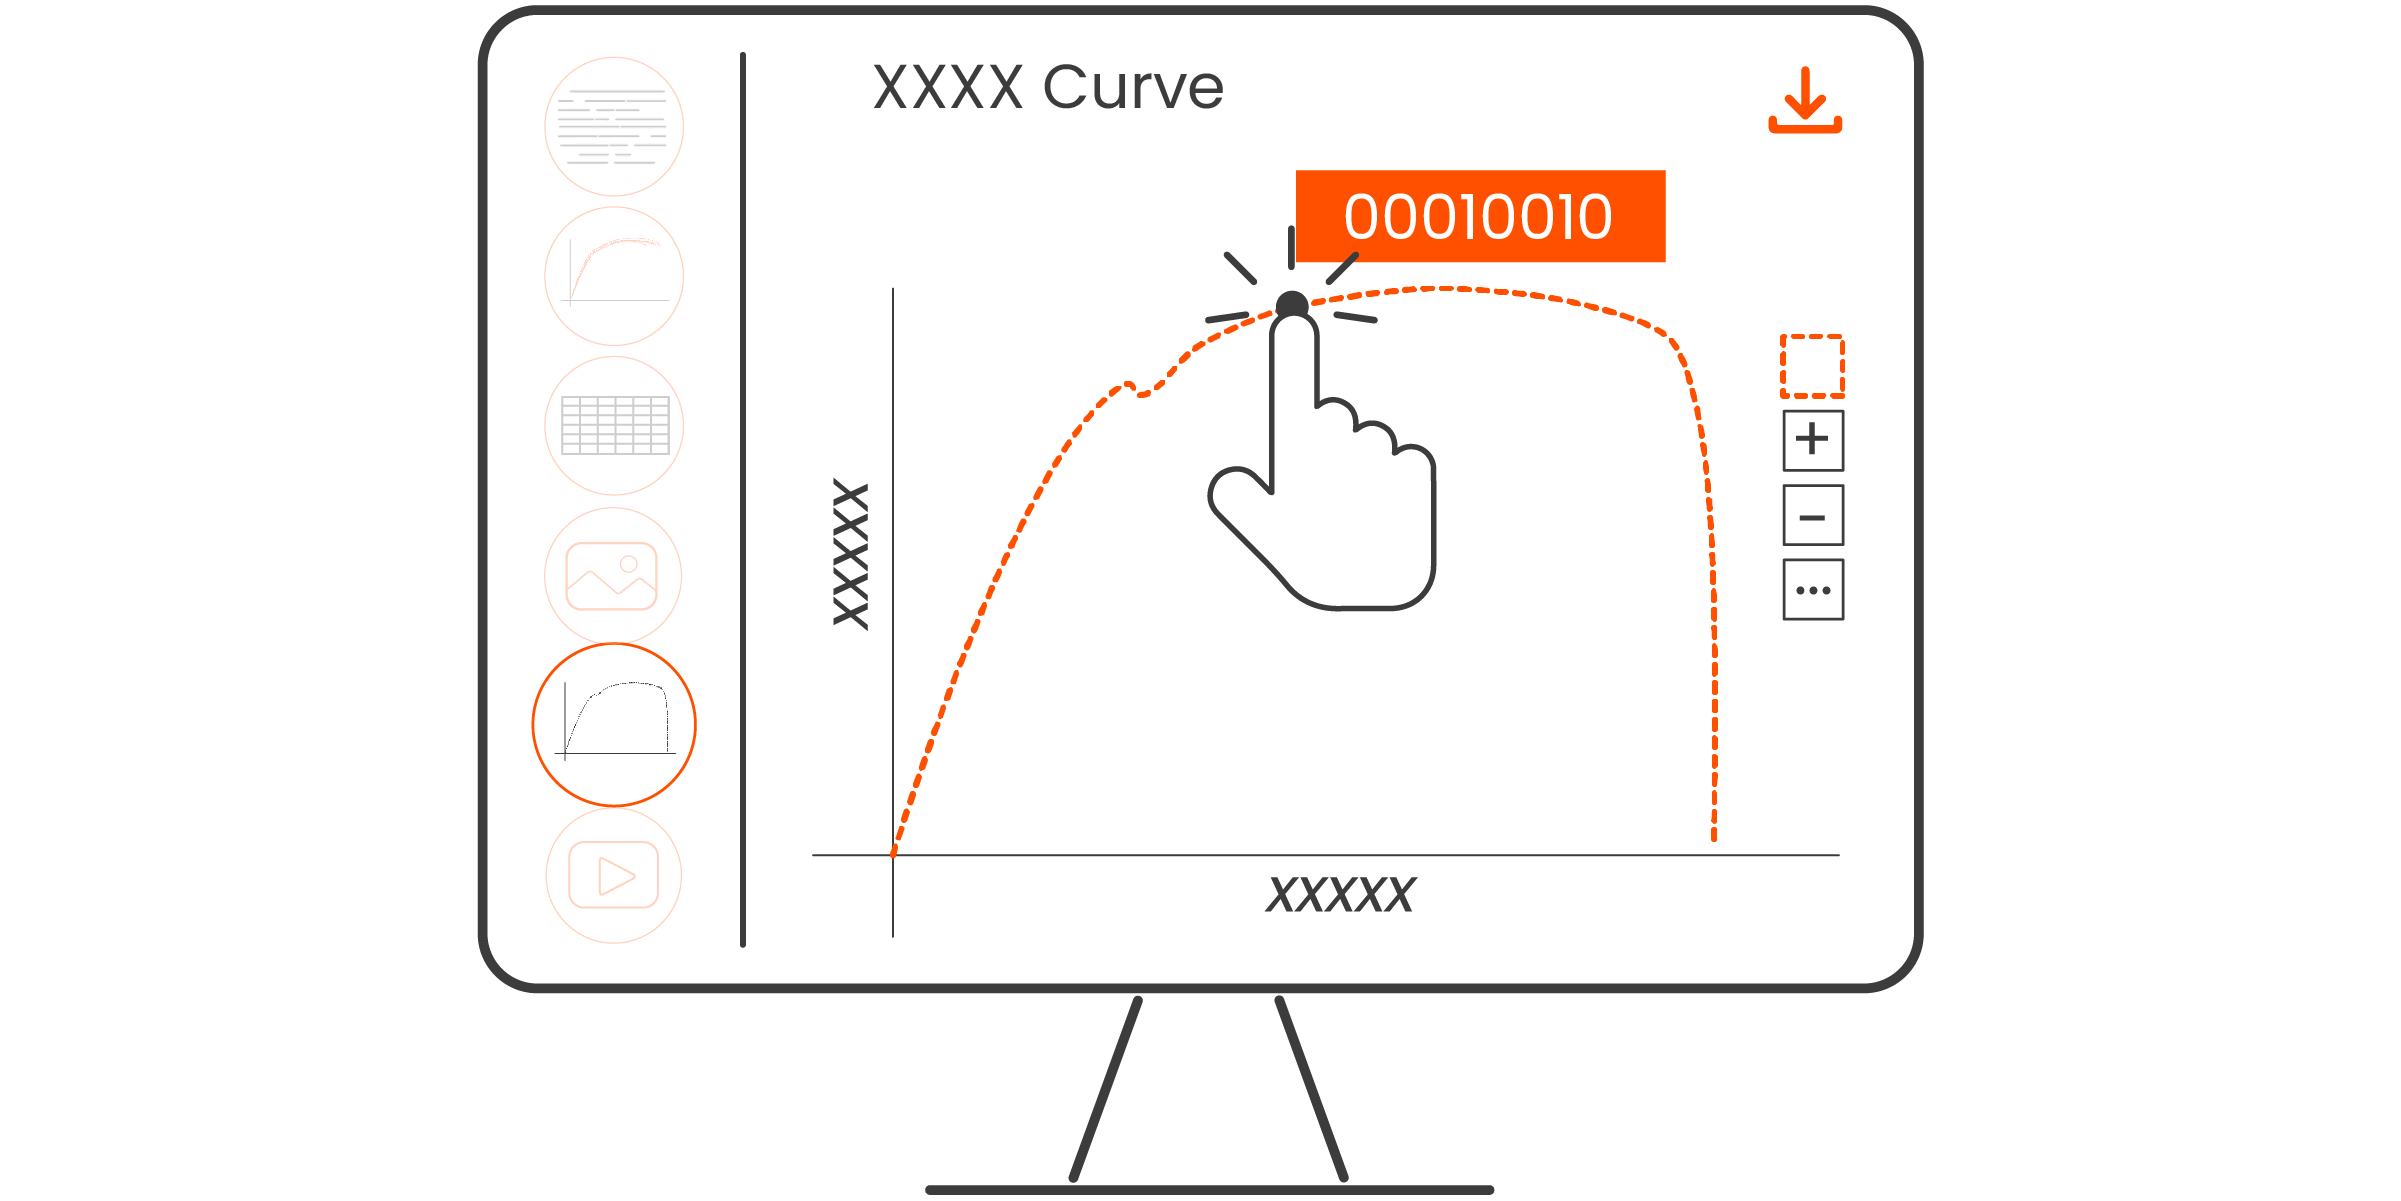
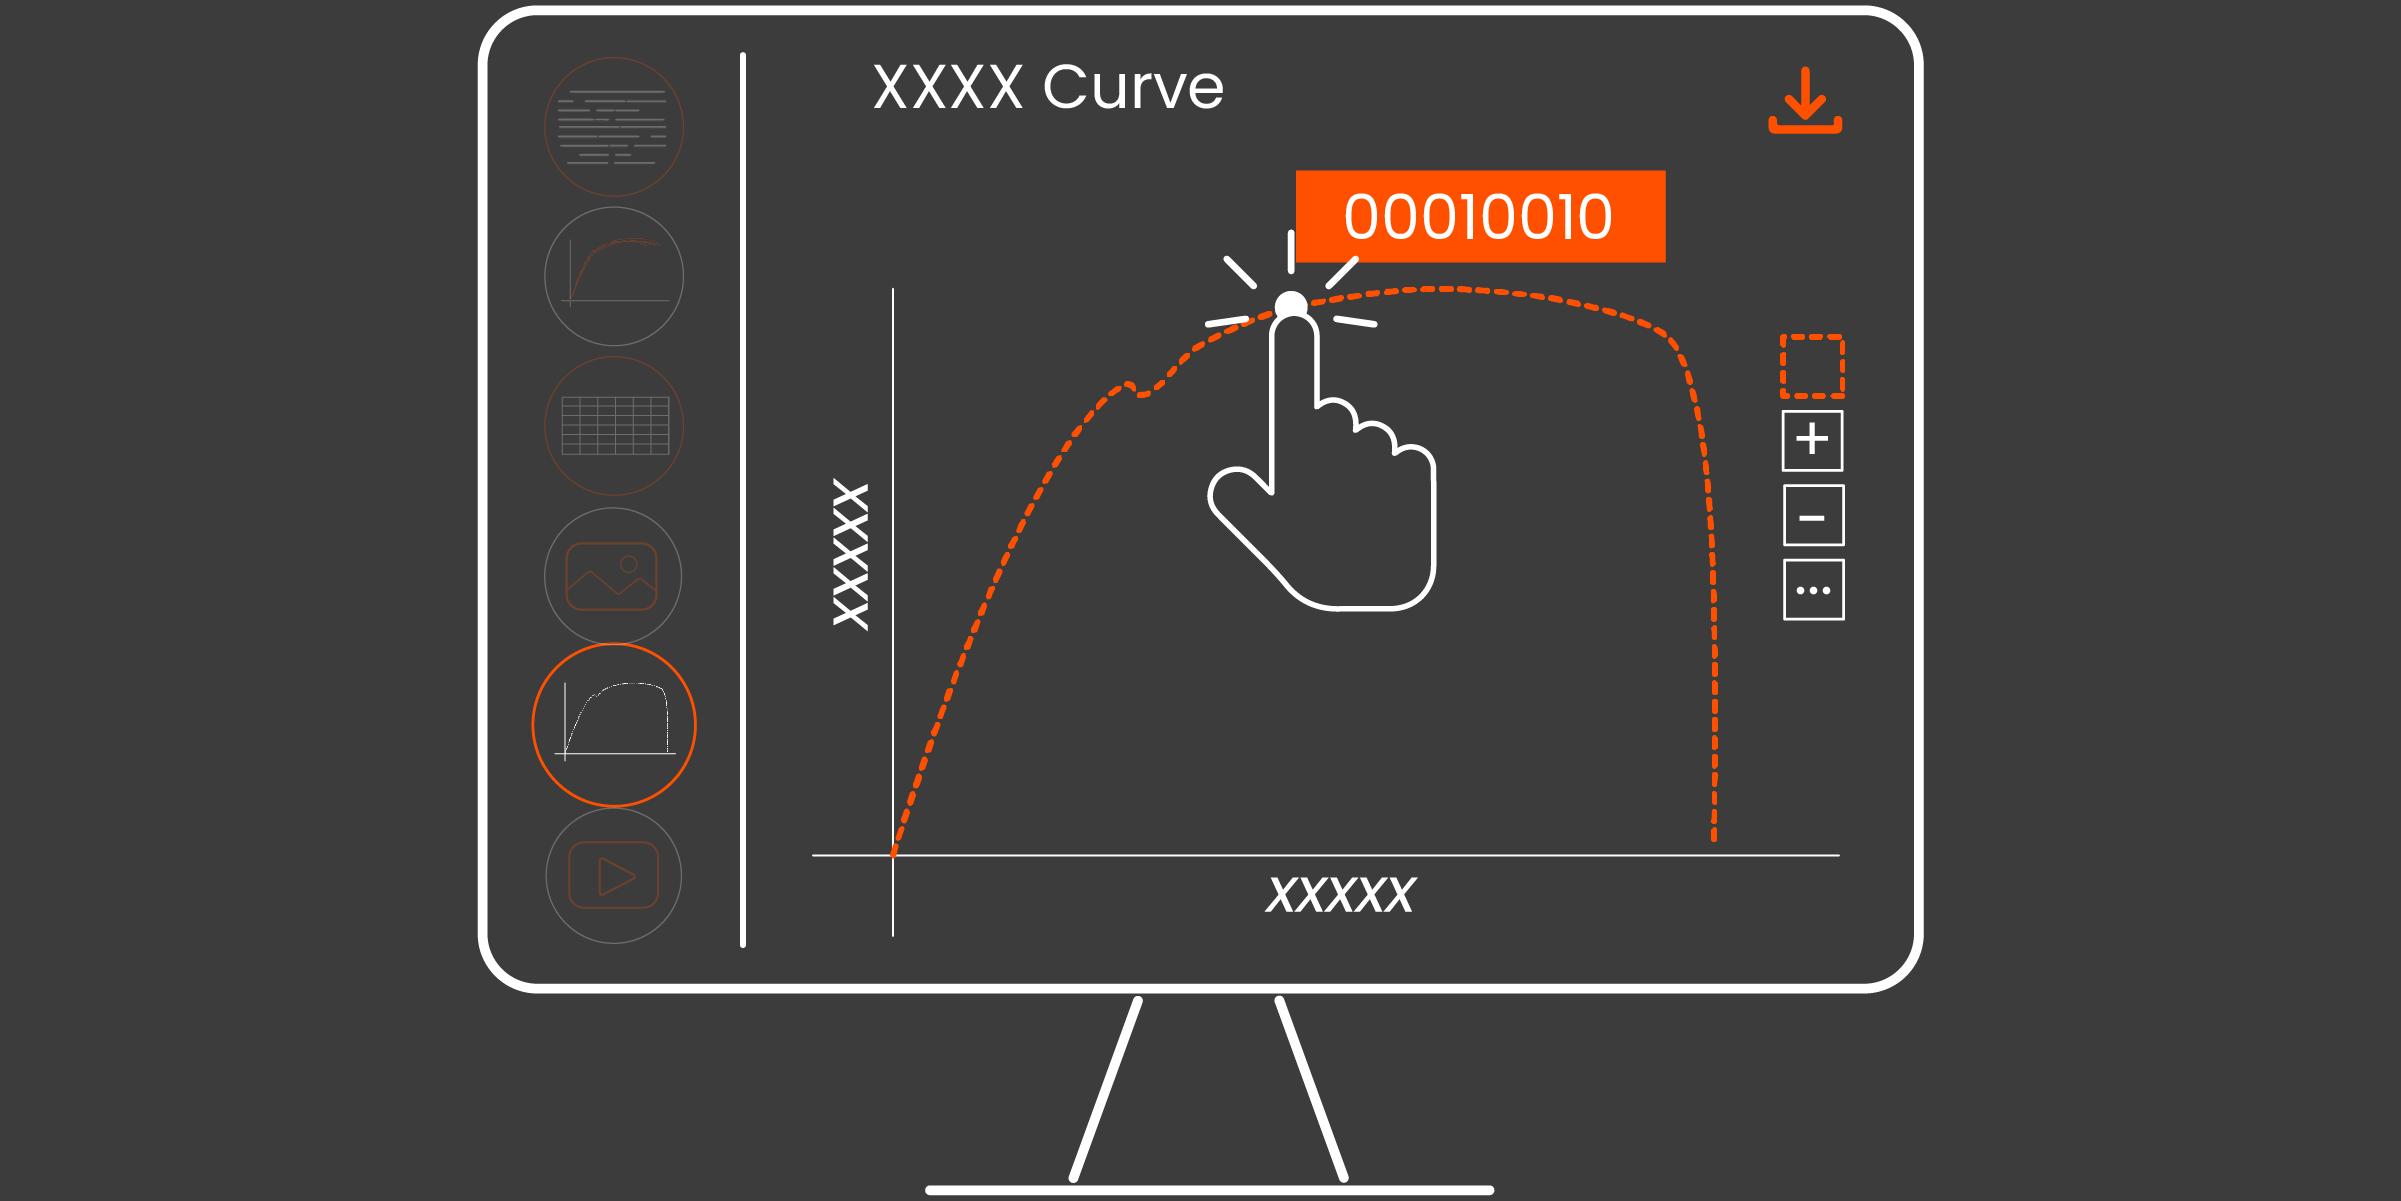
The GOM Inspect Pro offers very versatile and detailed inspection functions
GOM Scan 1 comes with useful additional accessories to support your daily workflow. GOM ROT 350 is an automated rotation table to facilitate your scanning process. Use the desk stand or tripod to mount the scanner.
Pack everything in the travel case and carry it wherever it can help you to get things done.
GOM Scan 1 (100) | GOM Scan 1 (200) | GOM Scan 1 (400) | |
---|---|---|---|
Points per scan | 6 million | 6 million | 6 million |
Points distance | 0.037 mm | 0.060 mm | 0.129 mm |
Measuring area | 100 ✕ 65 mm2 | 200 ✕ 125 mm2 | 400 ✕ 250 mm2 |
Working distance | 400 mm | 450 mm | 500 mm |
Light source | LED | LED | LED |
Weight | approx. 2,5 kg | approx. 2,5 kg | approx. 2,5 kg |
Dimensions | 290 ✕ 215 ✕ 80 mm3 | 290 ✕ 215 ✕ 80 mm3 | 290 ✕ 215 ✕ 80 mm3 |
Cable lenght | 5 m | 5 m | 5 m |
Connection | USB 3 | USB 3 | USB 3 |
Operating system | Windows 10 | Windows 10 | Windows 10 |
Software | GOM Inspect | GOM Inspect | GOM Inspect |